Background:
My art
education includes everything from being self-taught, to studying at the
University of Oregon, to taking dozens of workshops taught by professional
artists. I have studied drawing, painting, sculpture, ceramics, jewelry
making, pastel, colored pencil, assemblage, collage, print making,
plus a myriad of other methods of art making, all the while working as
an illustrator/graphic designer and heading my own international greeting
card company. I have satiated myself with art making, and still I crave
more. I try to make art everyday, in some way. Whether it is in my studio, in
my garden, in my home or in my daily activities, art and creativity are
central to my life.
As a
teacher, I enjoy getting others into making art about as much as I like making
art myself. I create workshops that help people experience success
with their first attempts. I believe that when you have a positive experience,
you feel confident and are encouraged to continue working at it. And when
you work at it, you get better faster. So you keep making art and reaping
the rewards that come from living within the joy of your own creativity. And in
the process, I believe, you make the world a better place.
General
Information:
The
workshops that I have developed are a composite of techniques that I have
learned over my 45 years of art making. Through education, practice and
experimentation, I have found my own ways of expressing myself. My classes are
a mix of beginners wanting to learn the basics to intermediate artists looking
to add new techniques to their tool boxes. I even have professional artists
from time to time who are looking to try something new. We all learn from each
other because every person makes art in their own special way.
All workshops
are held at my studio in Eugene and have a minimum of 2 and a maximum of 5
participants. I begin with a short demonstration and you begin working
right away. So it is important to be on time. Each class includes a supply list
that you will bring and a has a materials fee for items I provide.
- Workshop fees are based upon
the number of hours of instruction at 15.00/hour
- Materials fee: $10 per student
- Participants: Adults and teens
14+, a minimum of 2 people and maximum of 5 per workshop
- Location: My studio near the U of O campus
- Parking: My neighborhood is
restricted to 2 hour parking, so cars must be moved every 2 hours on weekdays.
We will take a break during this time.
- To reserve your spot, please
contact me at rogenem@phototidings.com
and send a $25 non-refundable deposit to the address above (sorry, checks
only at this time).
- Total fees are due the first
day of class.
- Supply lists and exact address will be sent
upon request, or when you sign up for a workshop.
Workshop Schedule
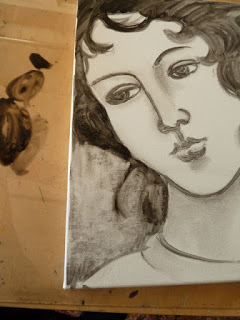
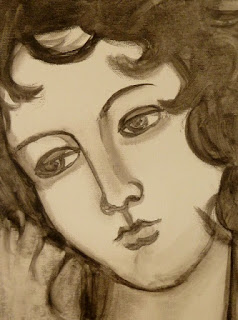
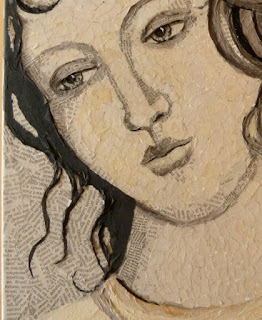
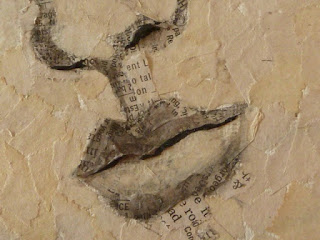
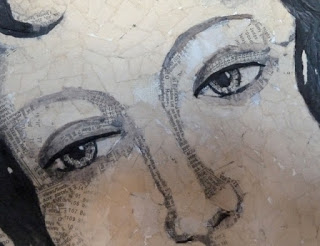
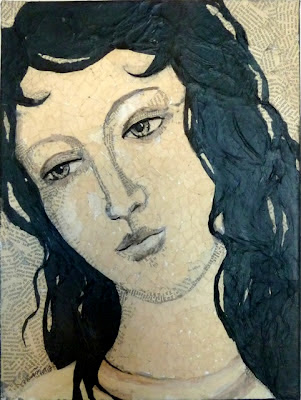
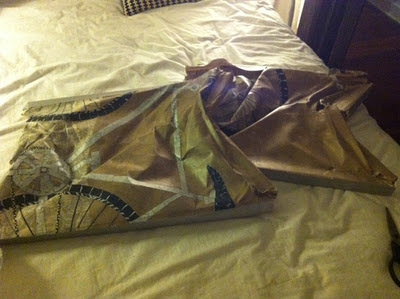
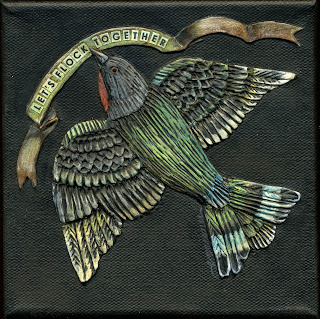
Paper Clay Workshop

Friday and Saturday,
May 3 and 4 --10 am–1 pm
2 Day Workshop: 6 hours
(3 hours each day)/90.00
+ materials fee 10.00
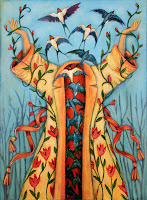
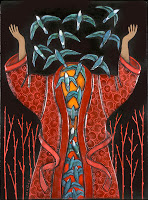
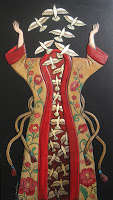
Creative Paper Clay® is an air-dried clay that adheres to many surfaces. It has a consistency similar to porcelain clay, but does not require firing. On the first day, you will learn to sculpt in bah-relief using paper clay on a cradled panel. On the second day, after the clay dries, we will carve, sand, and finish the pieces with acrylic paint. Inspirational images will be provided.
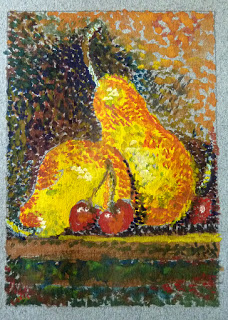
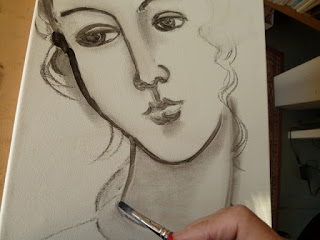
Miniature Pointillism Painting Workshop

Friday, May 10 --10 am–2 pm
1 Day Workshop: 4 hours/60.00
+ materials fee 10.00
Learn
to paint in a very easy, simple and forgiving manner. Working in an
impressionistic style from photographs, we will transfer an image to
paper, mix colors, add shading and paint using gouache. You will surprise
yourself with how well you can paint the very first time and make an
image you will want to frame. Inspirational images will be provided.
This class is for those who have always wanted to paint but never got
the hang of it.
Paper Clay Workshop

Thursday and Friday,
May 16 and 17 --10 am–1 pm
2 Day Workshop: 6 hours
(3 hours each day)/90.00
+ materials fee 10.00
Creative Paper Clay® is an air-dried clay that adheres to many surfaces. It has a consistency similar to porcelain clay, but does not require firing. On the first day, you will learn to sculpt in bah-relief using paper clay on a cradled panel. On the second day, after the clay dries, we will carve, sand, and finish the pieces with acrylic paint. Inspirational images will be provided.
Torn Paper Collage Workshop
Friday, May 24 –10 am-2 pm
1 Day Workshop: 4 hours/60.00
+ materials fee 10.00
Create a wonderful painting using bits of paper and a few stokes of paint. Using colored tissue paper, recycled papers, wrapping paper and other materials, we will make textural paintings with layers of color. With low cost materials, and a little creativity, you will make a piece to be proud of. Inspirational images provided.